
For years my photos lived in two clouds. Pictures from the Pixel went to Google Photos, pictures from the iPhone went to iCloud, and every few months I’d get the same email: storage almost full. Paying more was always one tap away, and that’s exactly the problem. The bill only ever goes up, and the library is never really mine.
Today every photo from both phones and my Fujifilm X-E5 lands in one place: Immich, running on my own server. This post is the guide I wish I’d had when I started. It covers what Immich needs, what the hardware actually costs in India right now, whether it really saves money, and every step to install it with Docker and move your existing library out of Google Photos or iCloud.
What is Immich?
Immich is a free, open-source, self-hosted photo and video backup app. If you’ve used Google Photos, you’ll feel at home in about five minutes: a timeline, albums, a map, shared albums, face recognition, and smart search where you type “dog on a beach” and it finds the dog on the beach. The difference is that all of this runs on a computer you own, and your photos never leave your house unless you want them to.
There are apps for Android and iOS that back up your camera roll automatically in the background, and a web app for browsing on a laptop. Immich is licensed under the GNU AGPL v3. There is an optional paid supporter licence at buy.immich.app, but nothing is locked behind it.
Immich requirements
These are the current official numbers from the Immich requirements page, which was last updated in October 2026:
| Minimum | Recommended | |
|---|---|---|
| Operating system | 64-bit Linux (Ubuntu, Debian etc.). Windows and macOS work through Docker Desktop but are strongly discouraged. | |
| RAM | 6 GB | 8 GB |
| CPU | 2 cores | 4 cores |
| Architecture | amd64 or arm64. On amd64, the machine learning container needs an x86-64-v2 CPU (most CPUs from around 2012 onwards). | |
| Storage | A Unix-style filesystem (EXT4, ZFS, Btrfs, XFS, APFS). Plan for your library size plus 10–20% for thumbnails and transcoded videos. | |
| Database | Typically 1–3 GB. It should live on a local SSD, never on a network share. | |
| Software | Docker with the Docker Compose plugin (the docker compose command; the old docker-compose is no longer supported). | |
Two things are worth calling out. First, RAM matters more than CPU. Immich can run on 4 GB, but only with the machine learning features (face recognition and smart search) turned off, and those are half the reason to use it. Second, keep the database on an SSD. Your photos can sit on a big hard drive, but the database is what makes the timeline feel fast.
Choosing hardware
You don’t need a rack in a cupboard. There are three sensible routes:
- Reuse an old laptop or desktop. Any 64-bit machine with 8 GB of RAM and an SSD will do. This is the cheapest way in, and a laptop even comes with its own battery backup.
- Buy a mini PC. An Intel N150 box with 16 GB of RAM and a 512 GB SSD is the sweet spot. It’s quiet, sips power, has four cores, and its integrated graphics can help with video transcoding.
- Use a NAS you already own. Immich has community install guides for Synology, QNAP, Unraid and TrueNAS. Check that your model meets the RAM requirement first; many entry-level NAS boxes ship with 2 GB.
For storage, use a hard drive built for always-on use, such as a NAS drive with CMR recording, and buy two: one for Immich and one for backups. A single drive is not a backup, and moving off the cloud means backups are now your job.
What it costs, and when it saves money
Here’s where I want to be honest, because a lot of self-hosting posts skip this part. All prices below are in India as of October 2026.
The cloud bill
| Plan | Price | 5 years | 10 years |
|---|---|---|---|
| Google One Premium, 2 TB | ₹650/month or ₹6,500/year | ₹32,500 | ₹65,000 |
| iCloud+ 2 TB | ₹749/month | ₹44,940 | ₹89,880 |
| iCloud+ 6 TB | ₹2,999/month | ₹1,79,940 | ₹3,59,880 |
Google One totals assume the annual plan at the regular price. Taxes and limited-time offers are not included.
The self-hosted bill
| Item | Approximate price |
|---|---|
| Intel N150 mini PC, 16 GB RAM, 512 GB SSD | ₹19,000–35,000 (I’ve used ₹25,000 below) |
| 4 TB NAS hard drive (WD Red Plus class) | ₹20,000–24,000 each |
| USB enclosures or a dock for the drives | About ₹4,000 for two |
| Electricity for a mini PC and a drive (about 20 W, around the clock, at ₹8 per unit) | About ₹1,400/year |
Put together for a 2 TB library:
| Setup | Upfront | 5 years |
|---|---|---|
| Immich on an old PC you already own (2 × 4 TB drives) | ₹48,000 | About ₹58,500 |
| Immich on a new mini PC (2 × 4 TB drives) | ₹73,000 | About ₹80,000 |
| iCloud+ 2 TB | ₹0 | ₹44,940 |
| Google One 2 TB | ₹0 | ₹32,500 |
The old-PC row assumes about 30 W of power draw. Your electricity rate depends on your state and slab.
So, at 2 TB and with 2026 drive prices, self-hosting is not the cheaper option. Hard drive and memory prices have risen sharply this year; one price tracker I checked shows the 4 TB WD Red Plus selling well above its long-term average. If your whole family fits comfortably inside Google’s 2 TB plan, the cloud wins on money alone.
The maths flips in a few situations:
- Your library outgrows 2 TB. Cloud pricing jumps in big steps. On iCloud, the next tier is 6 TB at ₹2,999 a month, which is ₹1,79,940 over five years. A mini PC with two 6 TB drives costs roughly ₹92,000 to buy, plus about ₹7,000 of electricity over the same period. That’s a saving of around ₹80,000 in five years, and it grows every year after.
- You shoot with a real camera. RAW files and 4K video fill 2 TB much faster than phone photos. My X-E5 files are the reason my library grew as fast as it did.
- The server does more than photos. The same box runs Nextcloud and Paperless-ngx for me, which replaces other paid storage I’d otherwise need.
- You think in decades. Hardware is a one-time cost with the occasional drive replacement. A subscription is forever, and prices tend to only go up.
Money is also only half the story. You keep full-quality originals, you choose who can see them, nobody trains anything on them, and a policy change at Google or Apple can’t touch your library.
Installing Immich with Docker
Docker Compose is the method the Immich team recommends for production. I’m using a fresh install of Ubuntu Server here, but any modern Debian-based distro works the same way. The screenshots below are from the official Immich documentation.
Step 1: Install Docker Engine
Don’t install the docker.io package from Ubuntu’s own repository. The Immich docs specifically warn that older distro packages cause errors. Use Docker’s official install script instead:
curl -fsSL https://get.docker.com -o get-docker.shsudo sh get-docker.sh# Let your user run Docker without sudo (log out and back in afterwards)sudo usermod -aG docker $USER# Check that the Compose plugin is installeddocker compose version
Step 2: Prepare the photo drive
Format your big drive as EXT4 and mount it somewhere permanent, for example /mnt/photos. Find the drive’s UUID with lsblk -f and add it to /etc/fstab so it mounts on every boot:
sudo mkdir -p /mnt/photoslsblk -f # note the UUID of your photo drive# Add a line like this to /etc/fstab (use your own UUID)UUID=your-drive-uuid /mnt/photos ext4 defaults,nofail 0 2sudo mount -adf -h /mnt/photos
Step 3: Download the Immich files
Create a folder for Immich on the SSD and download the two files it needs:
mkdir ./immich-appcd ./immich-appwget -O docker-compose.yml https://github.com/immich-app/immich/releases/latest/download/docker-compose.ymlwget -O .env https://github.com/immich-app/immich/releases/latest/download/example.env
Step 4: Edit the .env file
Open .env with nano .env and change three things: where photos are stored, your timezone, and the database password. Leave the database itself on the SSD.
# Photos and videos go on the big driveUPLOAD_LOCATION=/mnt/photos/immich# Database stays on the local SSDDB_DATA_LOCATION=./postgres# Your timezoneTZ=Asia/Kolkata# Immich versionIMMICH_VERSION=v3# Use letters and numbers only, no symbols or spacesDB_PASSWORD=ReplaceWithALongRandomPasswordDB_USERNAME=postgresDB_DATABASE_NAME=immich
For the password, the Immich docs ask for letters and numbers only. You can generate one with openssl rand -hex 24.
Step 5: Start Immich
docker compose up -d# Check that every container is runningdocker compose ps
The first start takes a few minutes while Docker downloads the images. If you see an error about healthcheck.start_interval, your Docker version is older than v25; update Docker, or comment out the start_interval line in the database section of docker-compose.yml.
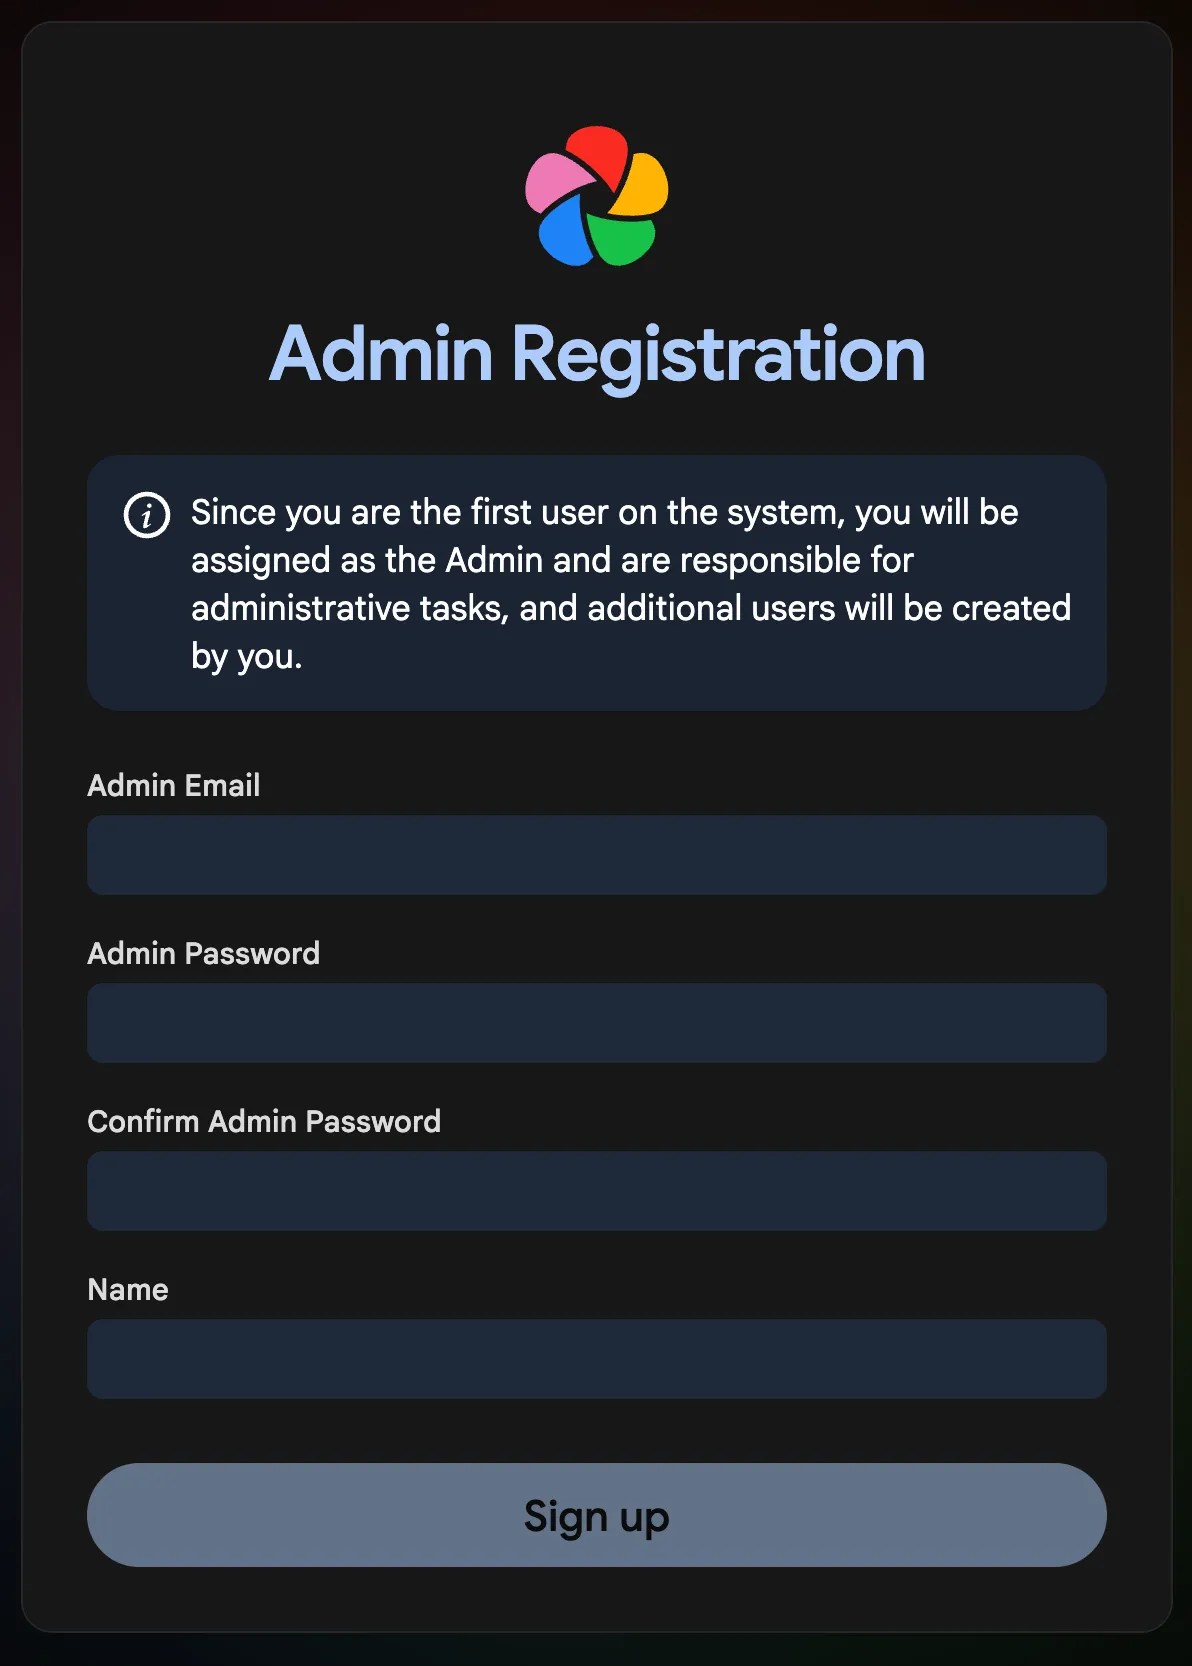
Step 6: Create the admin account
Open http://<your-server-ip>:2283 in a browser and click Getting Started. The first account you create becomes the admin.
Step 7: Turn on the storage template
By default, Immich stores uploads in folders named after random IDs. I strongly recommend enabling the storage template before you upload anything, so files on disk are organised by date. It makes your backups readable even without Immich. Go to Administration → Settings → Storage Template and switch it on.

The default pattern is Year/Year-Month-Day/Filename.Extension, which is a good choice. You can build your own from the variables Immich offers:

Step 8: Add your family (optional)
Each person should have their own account so their libraries stay separate. Go to Administration → Users and click Create user.


Step 9: Set up the phone app
Install Immich from the Play Store or the App Store. On the login screen, enter your server URL, http://<your-server-ip>:2283, and sign in.

Tap the cloud icon at the top right, choose the albums you want to back up (usually Camera or Recents), then tap Enable Backup.

Moving your existing library
The phone app handles new photos. Years of old photos need a one-time import. For this, the Immich docs recommend immich-go, a community-built command-line tool that understands Google and Apple exports and keeps dates and albums intact.
Download the build for your computer from the immich-go releases page, then create an API key in Immich: click your profile picture, open Account Settings → API Keys, and create a new key. Copy it somewhere safe; Immich only shows it once.
From Google Photos
- Go to takeout.google.com, click Deselect all, then tick only Google Photos.
- Choose Export once, file type .zip, and the largest file size so you have fewer archives to deal with.
- Wait for Google’s email, then download every archive into one folder. Don’t unzip them.
- Run immich-go against the whole set:
./immich-go upload from-google-photos \ --server=http://<your-server-ip>:2283 \ --api-key=YOUR_API_KEY \ /path/to/takeout-*.zip
Pass all the archives in a single run. Google splits a photo and its metadata file across different archives, and immich-go needs to see all of them to put each date and album back together.
From iCloud Photos
There are two ways, and the easy one is surprisingly good.
The easy way: let the iPhone do it. If your iPhone has enough free space, go to Settings → Photos and pick Download and Keep Originals. Once the full library is on the phone, the Immich app backs up the whole library the same way it handles new photos.
The thorough way: an export from Apple. Go to privacy.apple.com, choose Request a copy of your data, select iCloud Photos and submit. Apple can take several days to prepare it. Download and extract the files into one folder, then run:
./immich-go upload from-icloud \ --server=http://<your-server-ip>:2283 \ --api-key=YOUR_API_KEY \ /path/to/icloud-export
immich-go reads the CSV files in Apple’s export to restore capture dates and album names.
From anywhere else
OneDrive, Amazon Photos, an old external drive, a folder of camera exports: download everything into a folder and use from-folder:
./immich-go upload from-folder \ --server=http://<your-server-ip>:2283 \ --api-key=YOUR_API_KEY \ /path/to/photos
Don’t cancel the subscription yet
Compare the photo and video counts in Immich with the counts in Google Photos or iCloud. Spot-check a few old albums and videos. Then keep both running side by side for a month. Only cancel once your backups (next section) are working and you’ve confirmed you can restore from them.
Accessing Immich away from home
At this point Immich only works on your home Wi-Fi. Please don’t solve that by forwarding port 2283 on your router to the open internet. I use Tailscale, which puts my phones and the server on a private network that works from anywhere. Install it on the server and on each phone, then use the server’s Tailscale address in the Immich app. If you prefer your own domain, the Immich docs have a reverse proxy guide.
Backups: the part you can’t skip
Google and Apple were quietly keeping redundant copies for you. Now that’s your job. The Immich team recommends the 3-2-1 rule: three copies of your data, on two different devices, with one copy off-site.
- The database is backed up automatically. Immich saves a database dump every day at 2:00 AM into
UPLOAD_LOCATION/backupsand keeps the last 14. You can change this under Administration → Settings → Database Dump Settings. - The photos are not. Copy the whole
UPLOAD_LOCATIONfolder to your second drive on a schedule, using a tool like rsync, restic or Borg. At the very least, back uplibrary,uploadandprofile, since those hold your originals. - Back up the database before the files. If the two get out of step, this order means the worst case is a few files the database doesn’t know about, rather than database entries pointing at missing photos.
- Keep one copy outside the house. A drive at a family member’s place that you swap every few months is enough.
Restoring is built into the web app now, under Administration → Maintenance. Try it once on a spare machine so you know it works before you need it.
Keeping Immich updated
Immich moves fast. Before updating, read the release notes for breaking changes, then run:
cd ./immich-appdocker compose pulldocker compose up -d
The upsides and the downsides
What you gain: full-resolution originals with no “storage saver” compression, one library for Android and iPhone together, no monthly bill that grows with your library, storage that grows by adding a drive instead of jumping a tier, private face recognition and search that run on your own hardware, and the freedom to switch phones or platforms without migrating anything.
What you take on: a real upfront cost, especially with 2026 drive prices; backups, updates and drive health become your responsibility; there’s no support line when something breaks; and a power cut or a dead drive at home is now your problem, not a data centre’s.
Is it worth it?
If your library is small and the cloud never bothers you, stay where you are. It’s cheaper in the short term and it’s one less thing to look after.
But if you’re about to jump to a bigger storage tier, if you shoot with a camera, if your family is split across Android and iPhone, or if you just want your memories to belong to you, Immich is the best self-hosted photo app I’ve used. It took me an evening to set up and a weekend to import everything. Since then, the only thing I’ve had to think about is which photos to take.